The Complete Guide to Descending: Why Downhill Ends More Hikes Than Climbing Does
Quick Answer: Descending injures more hikers than climbing because it loads the quadriceps eccentrically - lengthening under load - which produces impact forces of roughly 3 to 5 times bodyweight at the knee on steep ground, against 1 to 2 times going up. Your cardiovascular system feels fine, so you go faster than your legs can absorb. The answer is technique (short steps, soft knees, poles), pacing (descend at around 70 percent of your climbing effort), and specific eccentric training in the weeks before a big day out.
This is the full guide: the mechanics, the technique, the training, the kit, and what to do when it has already gone wrong.
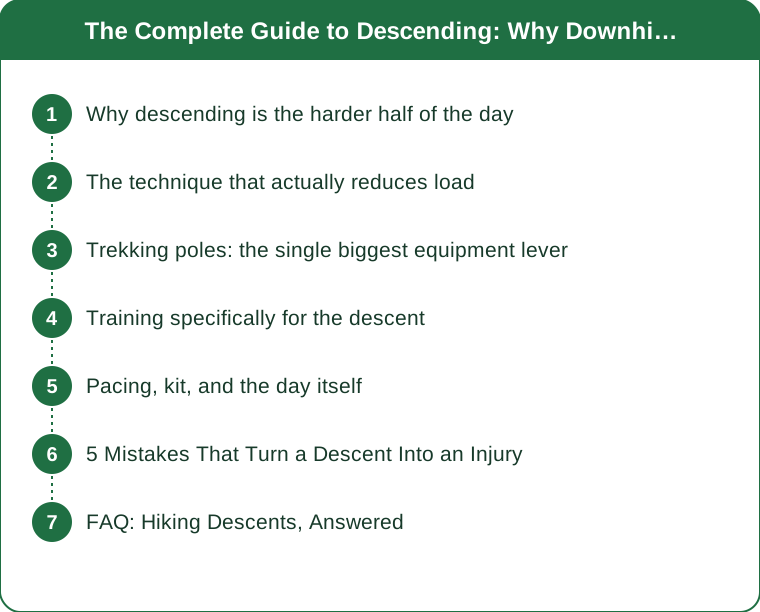
Why descending is the harder half of the day
Going uphill, your muscles shorten under load - a concentric contraction. It is metabolically expensive, so you feel it immediately in your breathing and your heart rate, and that feedback naturally regulates your pace.
Going downhill, the same muscles lengthen under load - an eccentric contraction. They are acting as brakes, absorbing energy rather than producing it. Eccentric work is metabolically cheap and mechanically expensive, which is the entire problem in one sentence.
The forces involved are substantially higher. Ground reaction forces on a steep descent commonly reach 3 to 5 times bodyweight at the knee, compared with roughly 1 to 2 times on the ascent. For a 70 kg hiker with a 10 kg pack, that is a lot of repeated loading.
And you do it thousands of times. A 600 metre descent is roughly 1,500 to 2,000 loaded steps, each one absorbed by the quadriceps and the knee structures.
The feedback loop that protects you on the way up is missing on the way down. Your breathing is easy, your heart rate drops, and nothing tells you to slow down until the muscular damage is already done.
This is why the classic pattern exists: a strong ascent, a fast confident descent, and then two days of quadriceps soreness so severe that stairs become a negotiation. That soreness is eccentric muscle damage, and it is entirely predictable.
Fatigue makes it progressively worse through the descent. As the quadriceps tire, they absorb less and the joints absorb more, which is precisely why most trips and falls happen in the last third of a descent rather than the first.
The technique that actually reduces load
Shorten your stride, substantially. A long step down means a bigger drop, a bigger impact, and a longer lever arm at the knee. Taking two short steps instead of one long one roughly halves the peak force per step even though you take more steps.
Keep your knees soft and slightly bent throughout. A straight leg landing transmits force directly through the joint rather than into the muscle, and the muscle is what you want absorbing it. Never lock out on impact.
Land on the whole foot, not the heel. Heel striking on a descent spikes the impact force and reduces your grip, especially on loose ground. Aim for a flat, quiet foot placement.
Stay upright rather than leaning back. Leaning back feels safer and is not - it shifts weight onto the heels, reduces traction, and increases the chance of a slip. Keep your torso stacked over your feet with a slight forward lean.
Use a zigzag line on steep sections. Switchbacking your own line reduces the effective gradient and lets you keep a shorter, more controlled step even where the fall line is severe.
Keep the cadence quick and light. Fast, small, quiet steps absorb less per step than slow heavy ones, and quiet is the useful cue: if you can hear yourself descending, you are landing too hard.
Look two or three steps ahead, not at your feet. Planning the line in advance prevents the sudden long step or awkward placement that causes both injuries and falls.
And breathe deliberately. People hold their breath on technical descents, which raises tension through the whole system and makes movement less fluid exactly when fluidity matters most.
Trekking poles: the single biggest equipment lever
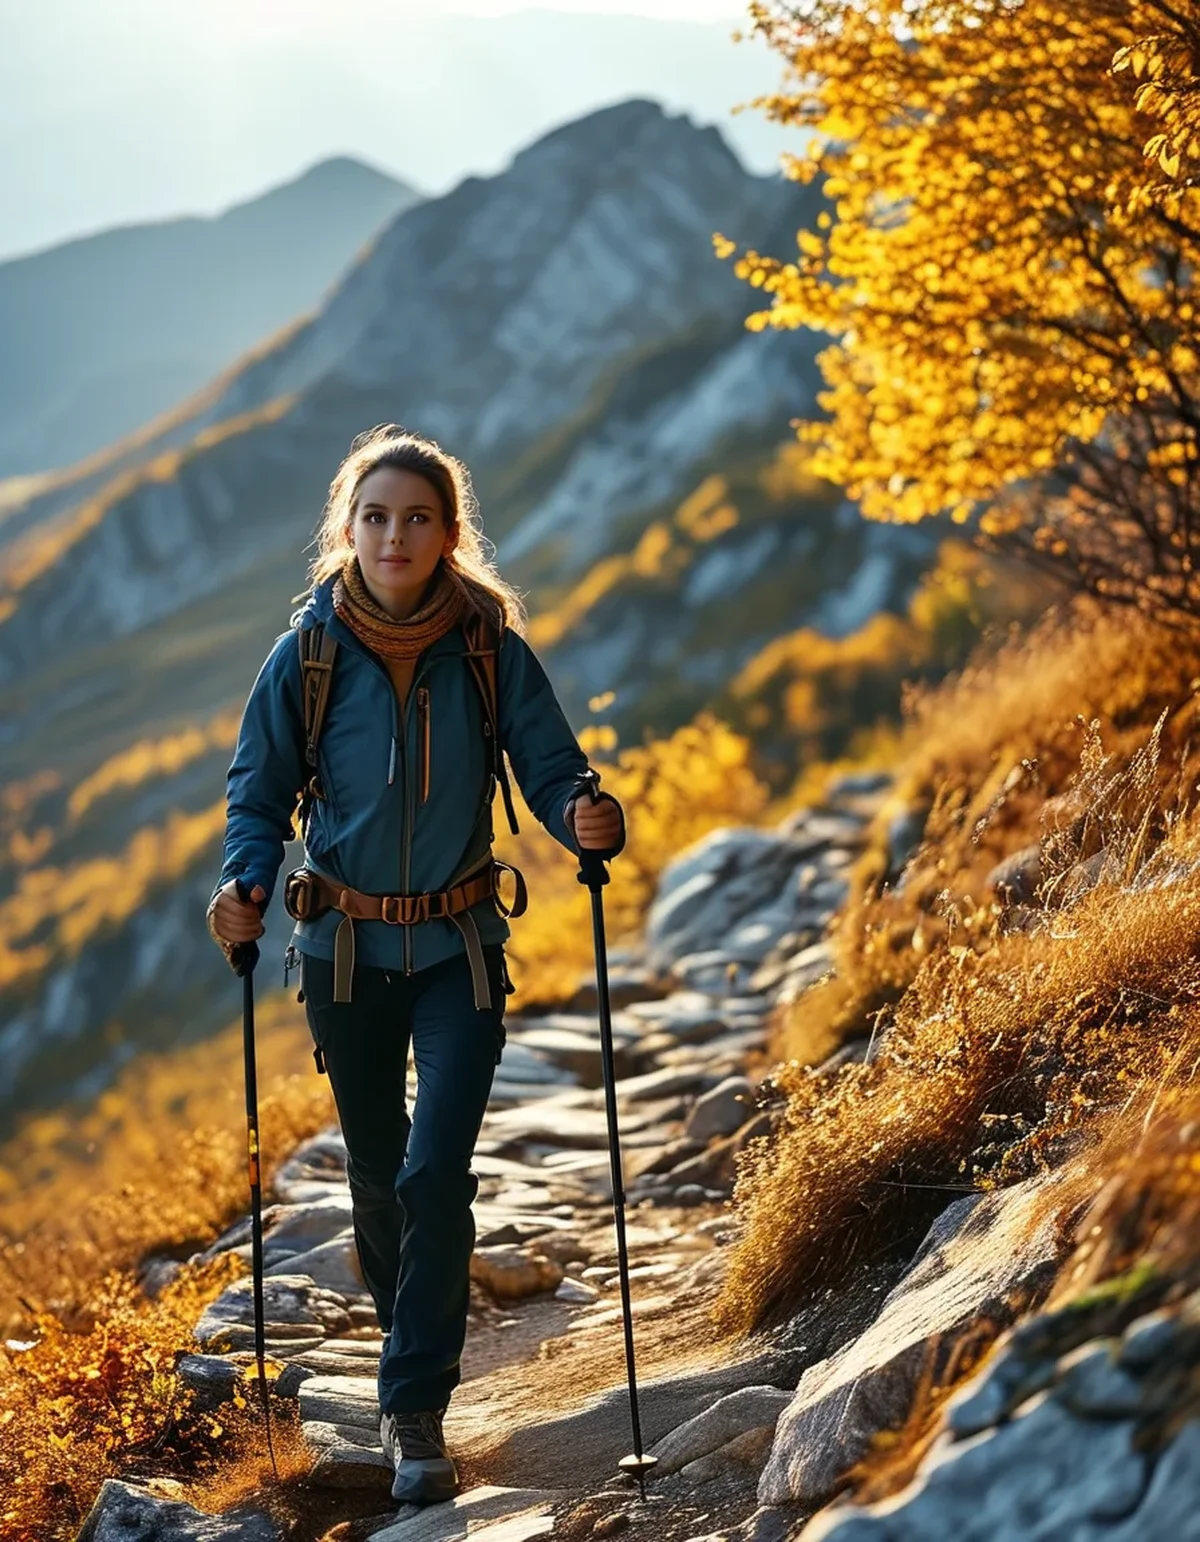
Poles reduce loading on the knees meaningfully on descents by transferring a portion of your bodyweight through your arms. For a long descent, this is the largest available equipment intervention by a wide margin.
Lengthen them for the descent. Poles set for flat ground are too short going down. Add roughly 5 to 10 cm so you can plant ahead and below without stooping - and yes, this is worth stopping to do.
Plant them ahead of you, not beside you. A pole planted level with your foot supports nothing. Planted a step ahead and downslope, it takes weight before your foot lands, which is where the benefit comes from.
Use both poles together on steep ground. Double-planting on genuinely steep sections creates a stable tripod and lets you lower yourself rather than step down.
Do not use the wrist straps on steep or exposed descents. Straps are helpful on flat ground for efficiency; on steep ground they make it harder to let go in a fall, which is a real risk worth taking seriously.
Carbide tips over rubber feet on rock and loose ground. Rubber feet are for pavements and hard trails; carbide bites on rock, scree, and wet roots where you actually need the grip.
And practise with them before the big day. Poles used badly are barely better than no poles. A couple of local walks to build the rhythm turns them from awkward luggage into genuinely useful equipment.
Training specifically for the descent
Train eccentrically, because that is what descending is. The single most effective preparation is slow lowering: squats and step-downs with a 3 to 4 second lowering phase and a normal-speed return.
Step-downs are the closest match to the actual movement. Stand on a step, lower slowly to touch the heel of the other foot to the floor over 3 seconds, then return. Build to 3 sets of 10 to 12 per leg, twice weekly.
Add slow tempo squats. Bodyweight or lightly loaded, 4 seconds down and 1 second up, 3 sets of 8 to 10. The tempo matters far more than the load here.
Include single-leg work. Descending is a single-leg activity - you are never on both feet at once - so split squats and single-leg lowering transfer better than bilateral work.
Then progress with actual downhill walking. Nothing prepares you for descending like descending. Start with 100 to 150 metres of descent and build gradually; if you live somewhere flat, repeated sets on a long staircase are a legitimate substitute.
Give it six weeks minimum. Eccentric adaptation is real and reasonably quick, but it is not a one-week fix, and the repeated bout effect - where a second exposure produces far less damage than the first - needs at least a couple of exposures to establish.
Build calf and hip strength alongside. Calves control the ankle on landing and the glutes control the knee’s alignment, so weak hips show up as knee pain on descents even when the quadriceps are strong.
And train with the pack you will carry. Ten kilograms changes descent mechanics considerably, and training without it underestimates the load by exactly that amount.
Pacing, kit, and the day itself
Descend at roughly 70 percent of the effort you climbed at. Not 70 percent of the speed - 70 percent of perceived effort, which usually means a slower descent than your fresh legs want to take.
Plan the descent into the day’s timing. A common error is treating downhill as free time. On technical ground a careful descent can take nearly as long as the climb, and rushing to make up time is where injuries happen.
Take short breaks on the way down, not just on the way up. Two minutes every 15 to 20 minutes of descending lets the quadriceps recover a little, and it noticeably reduces the fatigue-driven sloppiness of the final third.
Boot fit decides whether your toes survive. Lace the upper section firmly to lock the heel and stop the foot sliding forward. Black toenails after a descent are a lacing problem, not a boot-size problem, most of the time.
Consider a half-size up for big descent days, particularly in warm weather when feet swell. Room at the front is what protects the toes on sustained downhill.
Eat and drink on the descent too. People stop fuelling once the hard part feels over, and low energy in the last hour is a genuine contributor to poor foot placement and falls.
Save something for the last kilometre. Most descent injuries occur when tired legs meet easy ground and attention drops - the final section deserves the same care as the steep part.
5 Mistakes That Turn a Descent Into an Injury
1. Taking long steps down. A long step means a bigger drop and a longer lever at the knee. Two short steps instead of one long one roughly halves the peak load, and it is the single most valuable change on this list.
2. Leaning back for safety. It feels stable and does the opposite - weight moves onto the heels, traction drops, and slips become more likely. Stay upright with a slight forward lean.
3. Locking the knees on landing. A straight leg sends force through the joint rather than into the muscle. Soft, slightly bent knees are what absorb the impact.
4. Treating the descent as recovery time. Your lungs recover; your quadriceps are working harder than they did going up. Pacing the descent as though it were rest is how people end up unable to manage stairs for three days.
5. Skipping poles because the climb did not need them. The descent is exactly where they earn their weight - and they need lengthening by 5 to 10 cm for the job.
The unifying error is trusting your breathing as a guide. On the way up, breathlessness regulates your pace honestly. On the way down, nothing does, so pacing has to be a deliberate decision rather than a feeling. Persistent knee pain deserves proper assessment - this is general information, not medical advice.
FAQ: Hiking Descents, Answered
Why do my knees hurt going down but not up?
Descending loads the quadriceps eccentrically, with impact forces around 3 to 5 times bodyweight versus 1 to 2 times climbing. It is mechanically much harder even though it feels easier.
Do trekking poles genuinely help?
Yes - they are the largest single equipment improvement for descents, transferring some load through your arms. Lengthen them 5 to 10 cm and plant ahead and downslope.
What is the best training for downhill hiking?
Eccentric work: slow step-downs and tempo squats with a 3 to 4 second lowering phase, 3 sets of 10 to 12 per leg twice a week, plus actual downhill walking. Allow six weeks.
How fast should I descend?
At roughly 70 percent of your climbing effort. Your cardiovascular system will happily go faster than your legs can absorb, so this has to be a decision rather than a feeling.
Why do I get black toenails after long descents?
Usually because the foot slides forward inside the boot. Lace the upper section firmly to lock the heel, and consider a half-size up for big descent days.
Should I use the wrist straps on poles?
Not on steep or exposed ground - they make it harder to let go in a fall. They are more useful on flatter terrain where efficiency matters more than release.
Why do most falls happen near the end?
Fatigued quadriceps absorb less, so joints absorb more, and attention drops on easier ground. The last kilometre deserves the same care as the steep section.
Is severe soreness afterwards normal?
Some is expected after an unaccustomed descent - it is eccentric muscle damage. Severe pain, swelling, or pain that persists beyond a few days should be properly assessed. This is general information, not medical advice.
TL;DR:
- Descending loads the quads eccentrically at 3 to 5 times bodyweight versus 1 to 2 climbing - mechanically harder while feeling easier.
- Short steps, soft knees, whole-foot landings, upright torso. Two short steps beat one long one.
- Poles are the biggest kit lever. Lengthen 5 to 10 cm, plant ahead and downslope, straps off on steep ground.
- Train eccentrically for six weeks: step-downs and tempo squats, 3 to 4 second lowering, twice weekly, plus real downhill.
- Descend at 70 percent of climbing effort and break for 2 minutes every 15 to 20 minutes.
- Lace the upper boot firmly to stop foot slide, and half-size up for big descent days.
- Most falls come in the last third - fatigue plus easy ground plus dropped attention.
Train for the half of the day that actually causes the damage. Persistent knee pain deserves proper assessment - this is general information, not medical advice.
Keep Reading
This article is for general informational and styling purposes only. Fit, sizing, and product availability may vary — check current details before purchasing.