The Complete Guide to Layering for a Hike That Starts Cold and Ends Warm
Quick Answer: Start colder than feels comfortable, shed within the first ten minutes, and manage temperature by adjusting layers before you sweat rather than after. The system is three functional layers — a wicking base, an insulating mid, and a wind or rain shell — plus deliberate use of zips, hat, and gloves as your fast-acting controls. The mistake that causes most autumn misery is starting warm and sweating into your base layer in the first mile.
It was 42 degrees at the car, you are soaked through by the first switchback, and you are cold at every stop for the rest of the day. That whole sequence was decided in the first ten minutes.
Why does the first ten minutes decide the whole day?
Because wet base layers cannot be undone on the trail, and that is what starting warm produces.
Walking uphill generates a great deal of heat. Your metabolic rate climbing at a moderate pace is several times resting, which is why you feel warm within minutes of starting even in cold air. If you set off in everything you were wearing at the car, you overheat immediately.
Overheating means sweating, and sweating in cold conditions is the central problem in autumn and winter hiking. A wet base layer conducts heat away from your skin far faster than a dry one — a substantial multiple, in fact — so the moment you stop moving, that wet layer becomes an active cooling system.
And you cannot fix it. There is no way to dry a soaked base layer on a cool day in the field. You can add insulation over it, which then also gets damp. You will be managing that one decision for the rest of the hike.
So the counterintuitive rule: start cold. Be slightly uncomfortable at the trailhead — cool enough that you are looking forward to moving. You will be comfortable within five minutes and correctly regulated for the next hour.
A practical version of the rule: whatever you wore standing at the car, take one layer off before you start walking. Then stop and adjust again within the first ten minutes, because that is when the body’s heat production has caught up with the effort.
The second half of the same principle: adjust early on the descent too. Coming down generates far less heat than going up, so put a layer back on at the summit before you start losing temperature, not after. The rewarming cost of getting cold is much higher than the cost of a two-minute stop.
What does each layer actually do?
Three functions, and clarity about which is which prevents most kit mistakes.
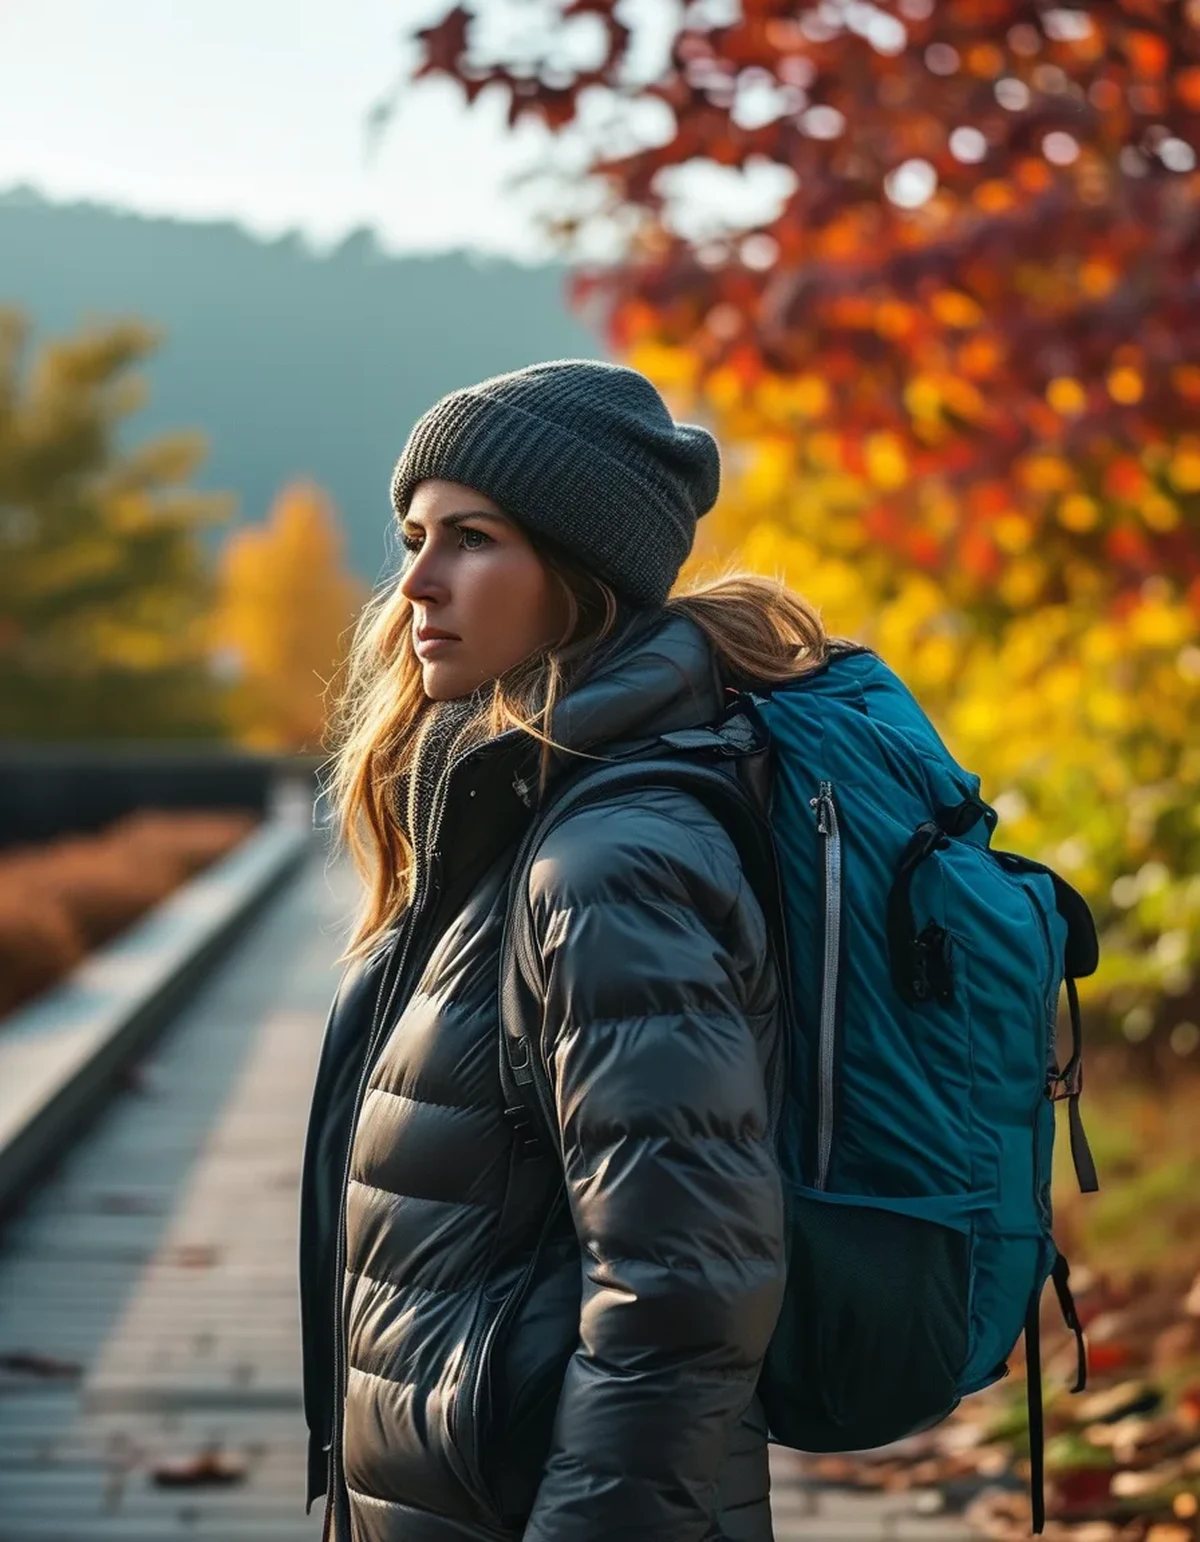
The base layer moves moisture. Its job is to pull sweat off your skin and pass it outward — not to insulate. Merino wool or a synthetic; never cotton, which holds water against you and dries slowly. This is the layer where fabric choice matters most, because it is the one in contact with your skin all day.
Merino versus synthetic, honestly: merino resists odour, feels comfortable across a wider temperature range, and is slower to dry. Synthetic dries faster, wicks slightly better, costs less, and smells sooner. For a single day hike either works; for multi-day, merino’s odour resistance is a genuine practical advantage.
The mid layer traps air. Fleece, a light down or synthetic puffy, or a heavier wool layer. Insulation works by holding still air, so loft is the relevant property. A fleece breathes well and insulates modestly; a puffy insulates far more and breathes poorly, which makes fleece the better choice while moving and the puffy the better choice while stopped.
The shell blocks wind and water. Wind is the most underrated factor in cold-weather comfort — a modest breeze strips heat from an insulated layer dramatically. A light windshell weighs almost nothing and is the highest-value item per gram in an autumn pack. A waterproof shell adds rain protection and breathes less.
Then the accessories, which are your fastest controls. A hat and gloves change your comfort disproportionately because the head and hands have high surface area and high blood flow relative to their size. Adding or removing a hat is a faster and finer adjustment than changing a body layer, and it costs no time at all.
And the honest note about the third layer: many autumn day hikes never need the waterproof shell to be worn — it lives in the pack as insurance. That is a correct use of it, not wasted weight.
How do you actually regulate temperature while moving?
By using the fast controls constantly and the slow controls rarely.
Your fast controls, in order of speed:
- Pit zips and front zip. A zip opened halfway vents a surprising amount of heat without stopping or removing anything. This is the primary tool and it should be in near-constant use on rolling terrain.
- Hat on or off. Two seconds, and a substantial change.
- Sleeves pushed up, gloves on or off.
- Hood up or down, which is very effective in wind.
Your slow controls: adding or removing a body layer, which requires stopping, taking off the pack, and two or three minutes. Use these at transitions — the start of a long climb, the summit, the start of the descent — rather than reactively.
The regulating principle: aim to be slightly cool while moving. If you are comfortably warm walking uphill, you are dressed too warmly and you will sweat. Slightly cool while working is correct, and it is a discipline rather than an instinct.
Anticipate rather than react. Before a long climb, vent or remove a layer at the bottom. Before a summit stop, put the insulation on as you arrive, not five minutes later when you have started to chill. Before an exposed ridge, put the windshell on in the shelter below it.
And plan your stops around it. Every stop is a cooling event, and the rate depends on wind and how damp you are. Short frequent stops keep you warmer than long infrequent ones, and any stop longer than five minutes in cold conditions warrants putting a layer on.
One specific autumn trap: the sheltered climb followed by an exposed top. You arrive at the ridge warm and damp from a windless ascent through trees, and the wind hits. That transition is where people get genuinely cold fast, and the fix is to stop below the treeline and layer up before you step out.
What does a real autumn day-hike kit look like?
A specific list, with what goes on your body and what goes in the pack.
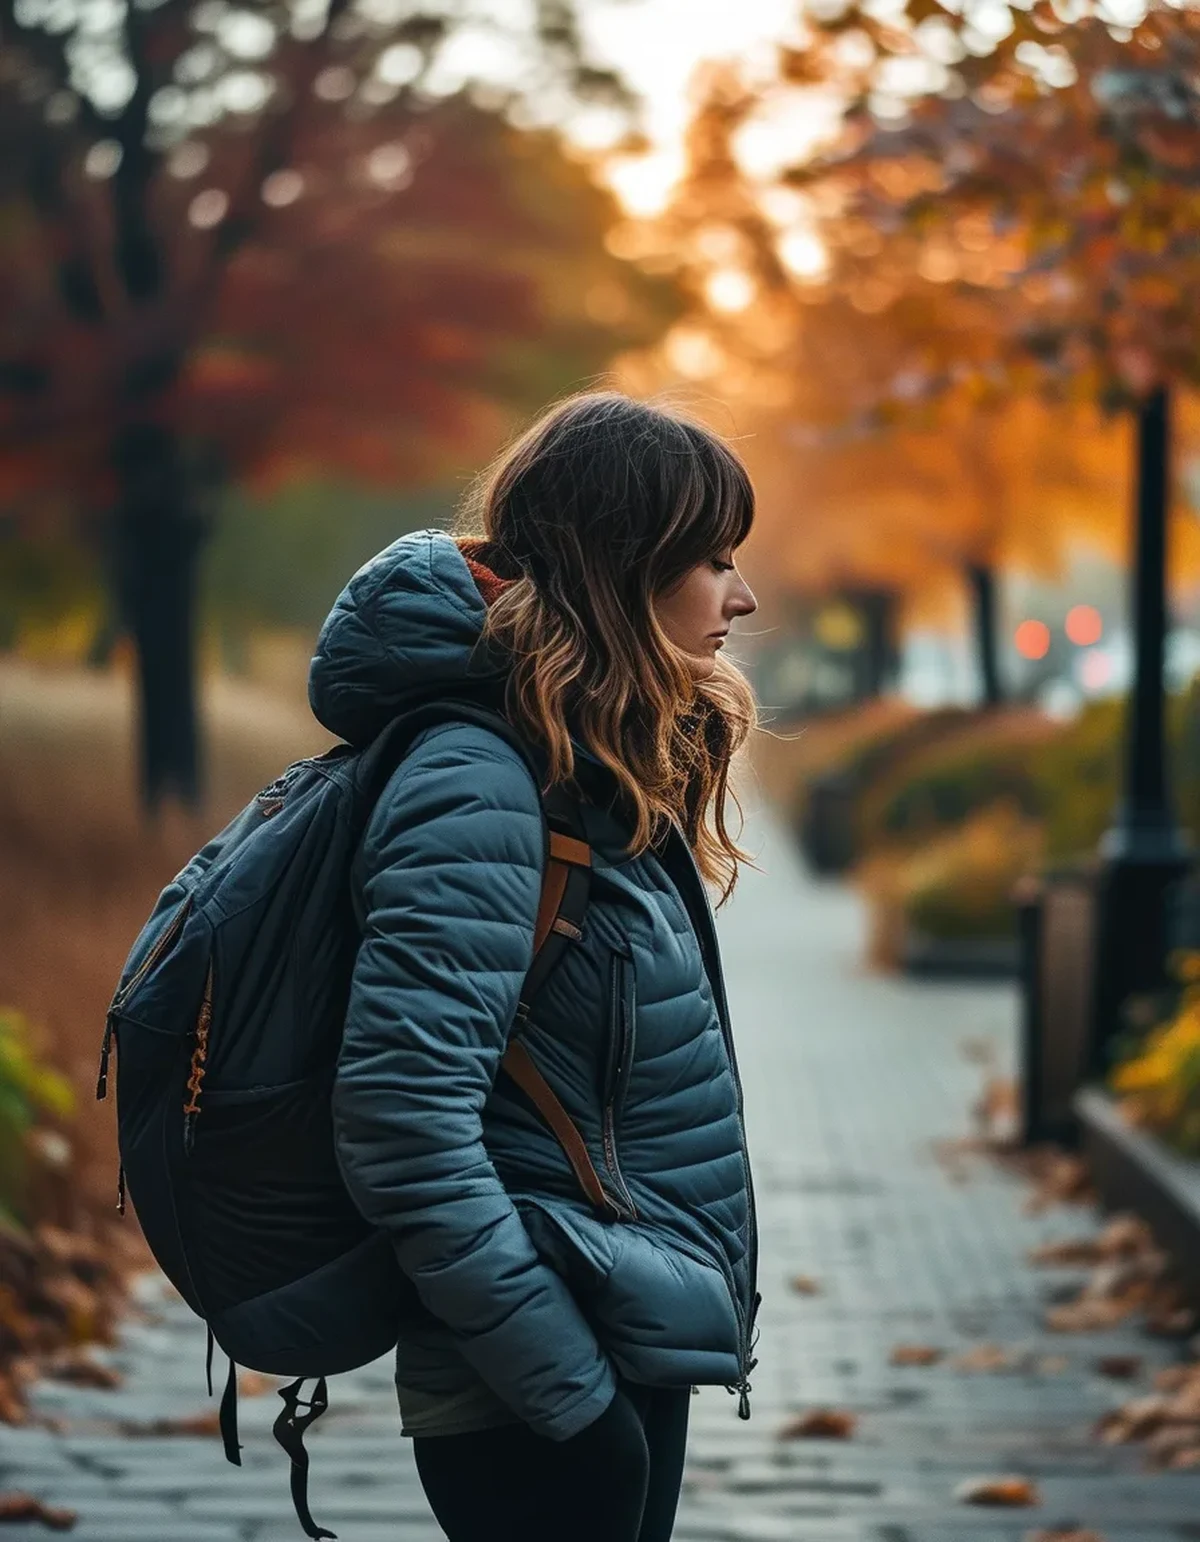
Worn at the start, on a 40 to 50 degree morning:
- Merino or synthetic base layer, long sleeve
- Hiking trousers or leggings — not cotton, and not jeans
- A light fleece or grid fleece, which you will remove in the first ten minutes
- Hat and light gloves, which you will also remove and put back on repeatedly
- Wool or synthetic socks and broken-in footwear
In the pack, always:
- A windshell or light waterproof jacket. Non-negotiable in autumn, regardless of forecast.
- An insulated jacket — light down or synthetic. This is your stop-and-summit layer and it should be warmer than you think you need.
- Warmer hat and gloves than the ones you started in.
- A spare base layer or at least a spare pair of socks on longer days.
- Headtorch. Daylight shortens fast in autumn and turnaround times get tighter every week — this is the item people omit in September and regret in October.
- More food than you need, and water. Cold weather suppresses thirst and you still dehydrate.
- A sit pad or a bin bag, which makes cold ground stops far more tolerable for almost no weight.
Two things worth spending on: the base layer, because it is against you all day, and the shell, because a leaking or non-breathable shell defeats the whole system. The mid layer is the most forgiving item — an inexpensive fleece performs close to a costly one.
And two things not worth carrying: cotton anything, and a single very warm jacket instead of two adjustable layers. One thick jacket gives you two options — on and off — and the whole point of a system is to have five.
What Nobody Tells You About Autumn Layering
Wind matters more than air temperature. A 45 degree day with a 20 mph wind on an exposed ridge is a genuinely cold environment, and the same day in shelter is pleasant. Check wind forecasts for the elevation you are going to, not the valley — and remember that wind speed typically increases substantially with height.
Temperature drops predictably with elevation. Roughly 3 to 5 degrees Fahrenheit per 1,000 feet, more in dry air. A 2,500-foot climb can put you 10 degrees colder at the top before wind is accounted for. This is arithmetic you can do before you leave.
The summit is not the coldest part of the day — the descent often is. You generate far less heat descending, you are frequently damp from the climb, and afternoon light is fading. Most people who get properly cold on an autumn hike do so on the way down, and it surprises them every time.
Damp is a bigger threat than cold in autumn specifically. Cool wet conditions in the 40s and 50s cause more hypothermia cases than deep winter cold does, because people underestimate them and dress as though it were merely chilly. Being wet, windy, and 45 degrees is a serious combination.
Your pack straps compress insulation and block ventilation. The area under a pack does not breathe, so your back will be damp regardless of your fabric choices. A ventilated pack panel helps a little; accepting it and layering the rest of you properly helps more.
Cotton is the one absolute rule. A cotton t-shirt or hoodie that gets wet stays wet, holds water against your skin, and actively cools you for hours. Everything else on this page is a preference; this one is not.
And daylight is the constraint nobody plans for. Autumn loses daylight fast — often two to three minutes a day — so a route that worked comfortably in August finishes in the dark in October. Calculate a turnaround time and carry a headtorch, every time.
How do you build and test the system?
One kit, tested on a short hike, adjusted once, then used all season.
Start with what you own. The base of a good layering system is a non-cotton base layer, a fleece, and any wind-resistant jacket — most people already have all three. Buy to fill genuine gaps rather than replacing everything.
Then test it on a short, low-consequence hike:
- Note the temperature at the trailhead and dress one layer lighter than feels right.
- Adjust at ten minutes, and note what you did.
- Layer up at the summit before you stop, and note whether you were warm enough at rest.
- Note how you felt on the descent — this is where most systems are found wanting.
- Write down what you would change, once, on your phone.
Most people’s adjustment after one test is the same: a warmer stop layer and a lighter moving layer. The insulated jacket needs to be warmer than you expect and the fleece lighter.
Then set up your pack for fast access. The windshell and the hat at the top of the pack, not the bottom. A layer you have to unpack the whole bag for is a layer you will not put on, and the two-minute stop you skip is how you get cold.
Build the habit of anticipating. Layer down before climbs, up before stops and descents, and vent constantly with zips. This is a skill and it is more valuable than any individual piece of kit.
Two safety notes to build in from the start. Set a turnaround time before you leave and honour it — daylight is shortening weekly and being caught out in the dark and cold is how a manageable day becomes a serious one. And know the early signs of hypothermia — shivering, clumsiness, slurred speech, poor decisions — in yourself and in whoever you are with, because the person affected is often the last to notice. If someone is shivering uncontrollably or acting oddly, get them insulated, sheltered, fed, and moving toward the car. This is general information, not medical or wilderness-medicine advice; if you hike regularly in cold conditions, a proper wilderness first aid course is worth the day.
TL;DR:
- Start cold and shed a layer before you walk — a base layer soaked in the first mile cannot be fixed on the trail
- Three functions: a wicking non-cotton base, an insulating mid, and a wind or rain shell; never cotton, anywhere
- Regulate with zips, hat, gloves, and hood constantly, and change body layers only at transitions
- Layer up before you stop and before you descend, not after — the descent is when most people actually get cold
- Carry a windshell, a warmer-than-expected insulated jacket, spare hat and gloves, and a headtorch, and set a turnaround time
The 30-degree swing is not solvable with a better jacket. It is solvable by being slightly uncomfortable at the trailhead and adjusting five minutes before you need to, all day long — which costs nothing and is the whole skill.
Keep Reading
This article is for general informational and styling purposes only. Fit, sizing, and product availability may vary — check current details before purchasing.