The Complete Guide to Reading a Trail Map and Building Your Own Route
Quick Answer: Reading a trail map well comes down to understanding contour lines (elevation and steepness), trail markers and blazes, distance-to-time ratios, and bailout points — skills that make you far less dependent on phone signal and battery life. None of it requires a survival course; it’s a few concepts that click quickly once explained properly.
Apps are convenient until the signal drops in a canyon or the battery dies two miles from the trailhead. Knowing how to read a physical map and plan a route isn’t old-fashioned overcaution — it’s the difference between a minor inconvenience and a genuinely stressful situation.
How do you actually read contour lines?
Contour lines connect points of equal elevation, and the spacing between them tells you everything about steepness — lines close together mean a steep climb or descent, lines spread far apart mean relatively flat terrain. Most topographic maps mark the elevation change between each line (called the contour interval) somewhere in the legend, often 20, 40, or 100 feet.
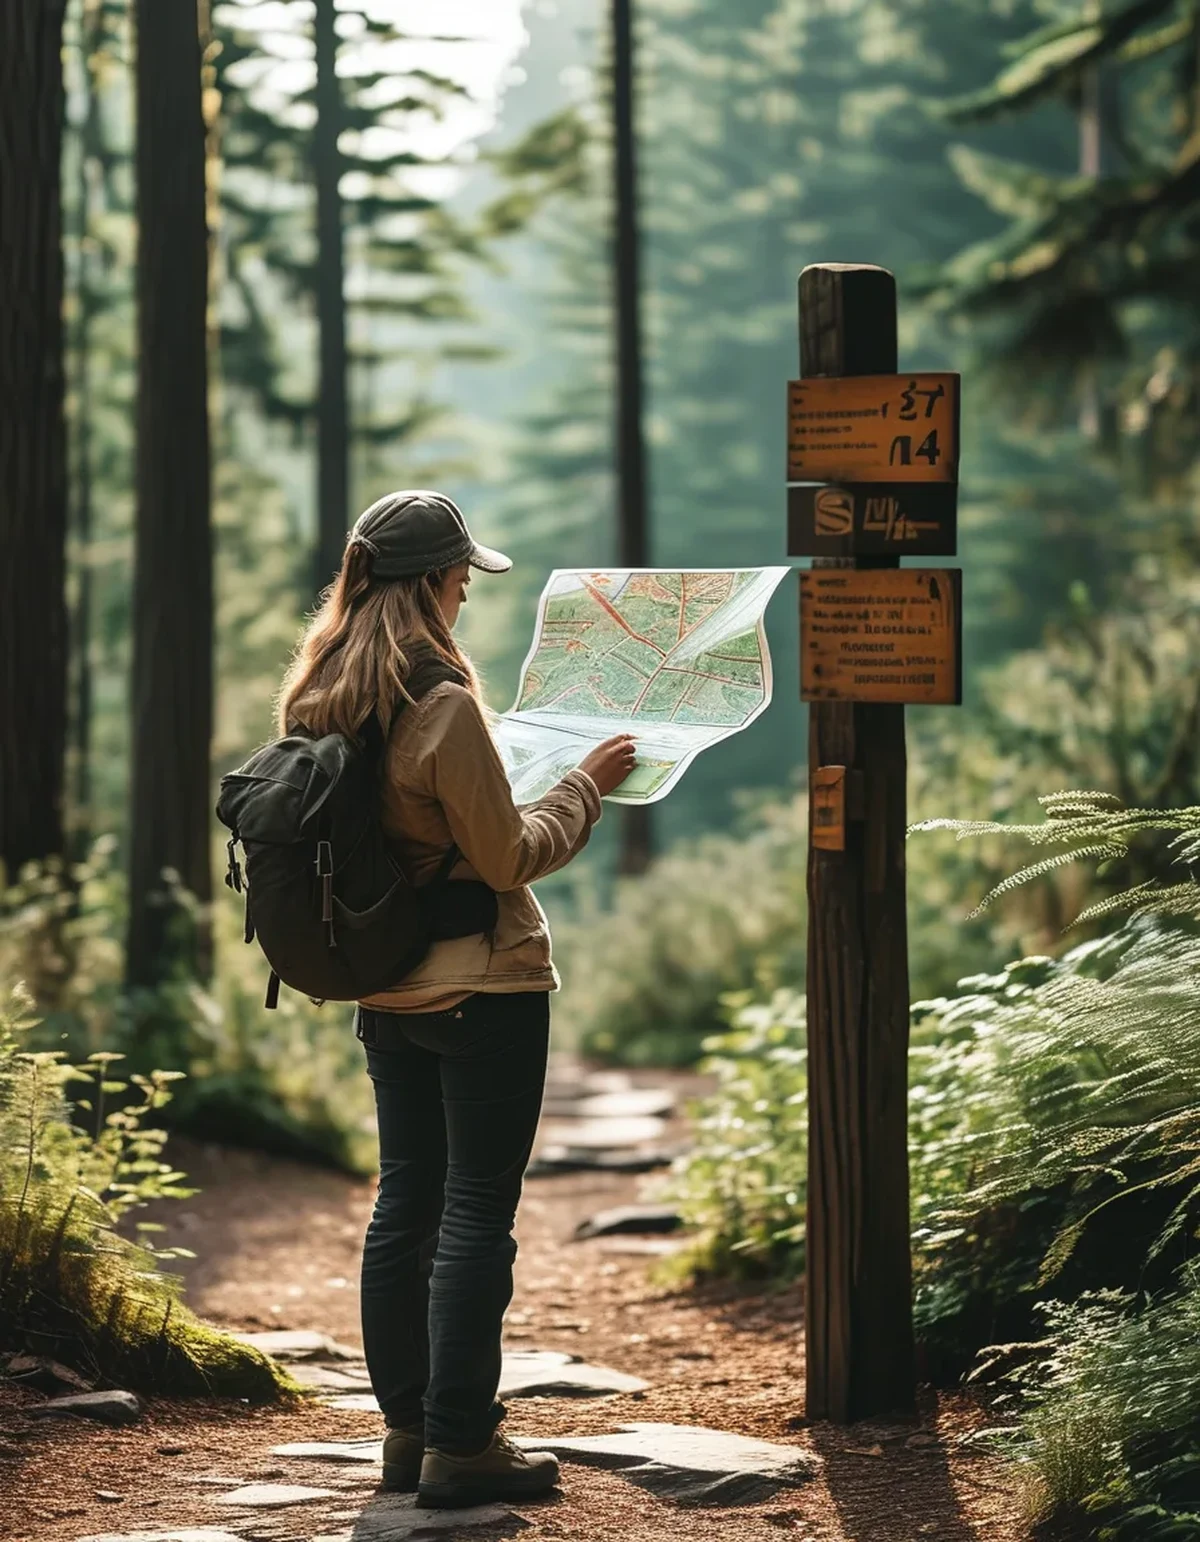
A quick way to build intuition: find a section of trail you’ve already hiked and match it against the map’s contour lines. The parts that felt steep will show tightly packed lines, and the flat, easy stretches will show wide gaps. Do this once or twice and reading elevation on a new map becomes second nature.
Contour lines also reveal terrain features that aren’t obvious from a satellite view — ridgelines, drainages, saddles, and false summits all have distinct line patterns once you know what to look for. This matters most on routes with multiple false summits, where knowing the terrain shape ahead of time prevents the demoralizing surprise of cresting what looks like the top only to find another climb.
What do trail markers and blazes actually mean?
Painted blazes on trees, cairns (stacked rock piles), and metal trail markers all serve the same purpose: confirming you’re still on the intended route, especially where the trail bed itself is faint or crosses other paths. A double blaze (two marks stacked vertically) almost universally signals a turn or trail junction ahead — slow down and look for the next marker before committing to a direction.
Different trail systems use different color-coding for difficulty or trail identity, and this is usually explained on a sign at the trailhead — it’s worth photographing that sign before you start, since it’s easy to forget the specific color scheme once you’re a few miles in.
Cairns deserve a specific caution: in some areas, hikers build unofficial cairns for fun or as memorials, which can be misleading. If a cairn leads somewhere that doesn’t match your map’s expected route, trust the map and official blazes over an ambiguous rock pile.
How do you estimate hiking time from distance and elevation, not just mileage?
Distance alone badly underestimates time on anything with real elevation change. A commonly used baseline is Naismith’s Rule: roughly 30 minutes per mile on flat terrain, plus an additional 30 minutes for every 1,000 feet of elevation gain. This is a starting estimate, not a guarantee — your actual pace depends heavily on fitness, pack weight, and trail surface.
The more useful practice is calibrating this formula to your own hiking after a few trips: log your actual time against the formula’s prediction, and you’ll quickly learn whether you run faster or slower than the baseline, which makes every future route estimate more accurate.
This calculation matters most for planning your turnaround time on an out-and-back route — knowing you need to be heading back by a specific hour to beat sunset is far more useful than just knowing the total mileage.

What is a bailout point and why does every route need one?
A bailout point is a spot on your route — a road crossing, a junction with a shorter trail, a parking area — where you could exit early if weather turns, someone gets injured, or you’re simply behind schedule. Identifying two or three bailout points before you start turns an open-ended commitment into a route with built-in decision points.
This is especially important on loop or point-to-point routes where ‘just turning around’ isn’t always the shortest way back to your car. Mark these points on your map or note their mileage before you leave, so the decision is already made in advance rather than improvised under stress.
Myth vs Fact: Route Planning and Navigation
Myth: A phone app is a complete substitute for a paper map. Fact: Apps are excellent as a primary tool but fail exactly when you need backup most — dead battery, no signal, a cracked screen. A paper map and basic reading skill is the redundancy, not the replacement.
Myth: If a trail is well-marked, you don’t need to read the map at all. Fact: Even well-marked trails have unmarked junctions, unofficial side paths, and seasonal reroutes. Cross-referencing your position occasionally prevents small wrong turns from becoming big ones.
Myth: Elevation gain matters less than total mileage for planning. Fact: A flat 8-mile hike and an 8-mile hike with 2,500 feet of gain are entirely different undertakings in time and effort — mileage alone is a poor predictor of difficulty.
FAQ: Trail Map Reading Questions, Answered
Do I need a specific type of map for this, or will any hiking app work?
A topographic map (paper or downloaded for offline use) is what shows contour lines. Many hiking apps include this layer, but confirm it’s downloaded for offline access before you lose signal.
How do I know the contour interval on a map I’m using?
It’s listed in the map’s legend, usually as a number in feet or meters between each labeled line. If it’s not visible, this is a sign to switch to a more detailed map before relying on it for elevation planning.
What’s the minimum navigation skill I should have before hiking solo?
At minimum: reading contour lines for steepness, recognizing standard trail blazes, estimating time with an elevation-adjusted formula, and identifying bailout points. These four skills cover the vast majority of situations where navigation actually matters.
TL;DR:
- Contour line spacing tells you steepness — tight lines mean steep terrain, wide gaps mean flat
- Double blazes signal a turn or junction; always confirm before committing to a direction
- Use elevation-adjusted time estimates (like Naismith’s Rule), not just mileage, to plan your day
- Identify bailout points before you start so tough decisions are made in advance, not under stress
A phone app is a great primary tool, but the hikers who never get caught off guard are the ones who can also read the map underneath it.
Keep Reading
This article is for general informational and styling purposes only. Fit, sizing, and product availability may vary — check current details before purchasing.