The Complete Guide to Preventing Blisters on Every Kind of Hike
Quick Answer: Blisters form from friction and moisture working together, not from either alone — a complete prevention system addresses sock material, boot fit, break-in period, and mid-hike moisture management as a connected set, not isolated fixes.
Most blister advice focuses on a single fix — better socks, or better boots, or moleskin — when in reality blisters are almost always the result of several small factors compounding on each other over miles. This guide covers the full system.
Understanding How Blisters Actually Form
A blister forms when repeated friction between skin and a sock or boot creates a shearing force that separates skin layers, and the body fills that gap with fluid as a protective response. Moisture dramatically increases friction rather than reducing it, which is why sweaty or wet feet blister faster than dry ones, contrary to the intuition that dampness would make things slide more smoothly.
Heat also plays a role — feet that run hot for hours in poorly ventilated boots soften skin (maceration) and make it more vulnerable to friction damage than skin that stays cool and dry throughout a hike.
Sock Material Makes a Bigger Difference Than Most People Think
Cotton socks hold moisture against the skin and provide almost no friction management once damp, making them one of the most common preventable causes of hiking blisters. Merino wool or synthetic wicking blends actively move moisture away from skin and maintain a more consistent surface texture even when sweaty.
Double-layer sock systems — a thin liner sock plus a cushioned outer sock — work by letting friction happen between the two sock layers instead of between sock and skin, which is often the single most effective upgrade for chronic blister sufferers.
Boot Fit and the Break-In Period Nobody Skips Correctly
A boot that’s correctly sized should have about a thumb’s width of space between your longest toe and the front of the boot when laced for downhill terrain, since feet slide forward on descents. Too tight causes toe blisters and black toenails; too loose causes heel lift, which is one of the most common blister locations.
New boots need a genuine break-in period of at least several short walks (2-5 miles) on varied terrain before a long hike — skipping this is one of the most common reasons for blistered first-day-of-a-trip hikers, since stiff, unbroken leather or synthetic uppers haven’t yet conformed to individual foot shape.
Managing Moisture Mid-Hike, Not Just Before It
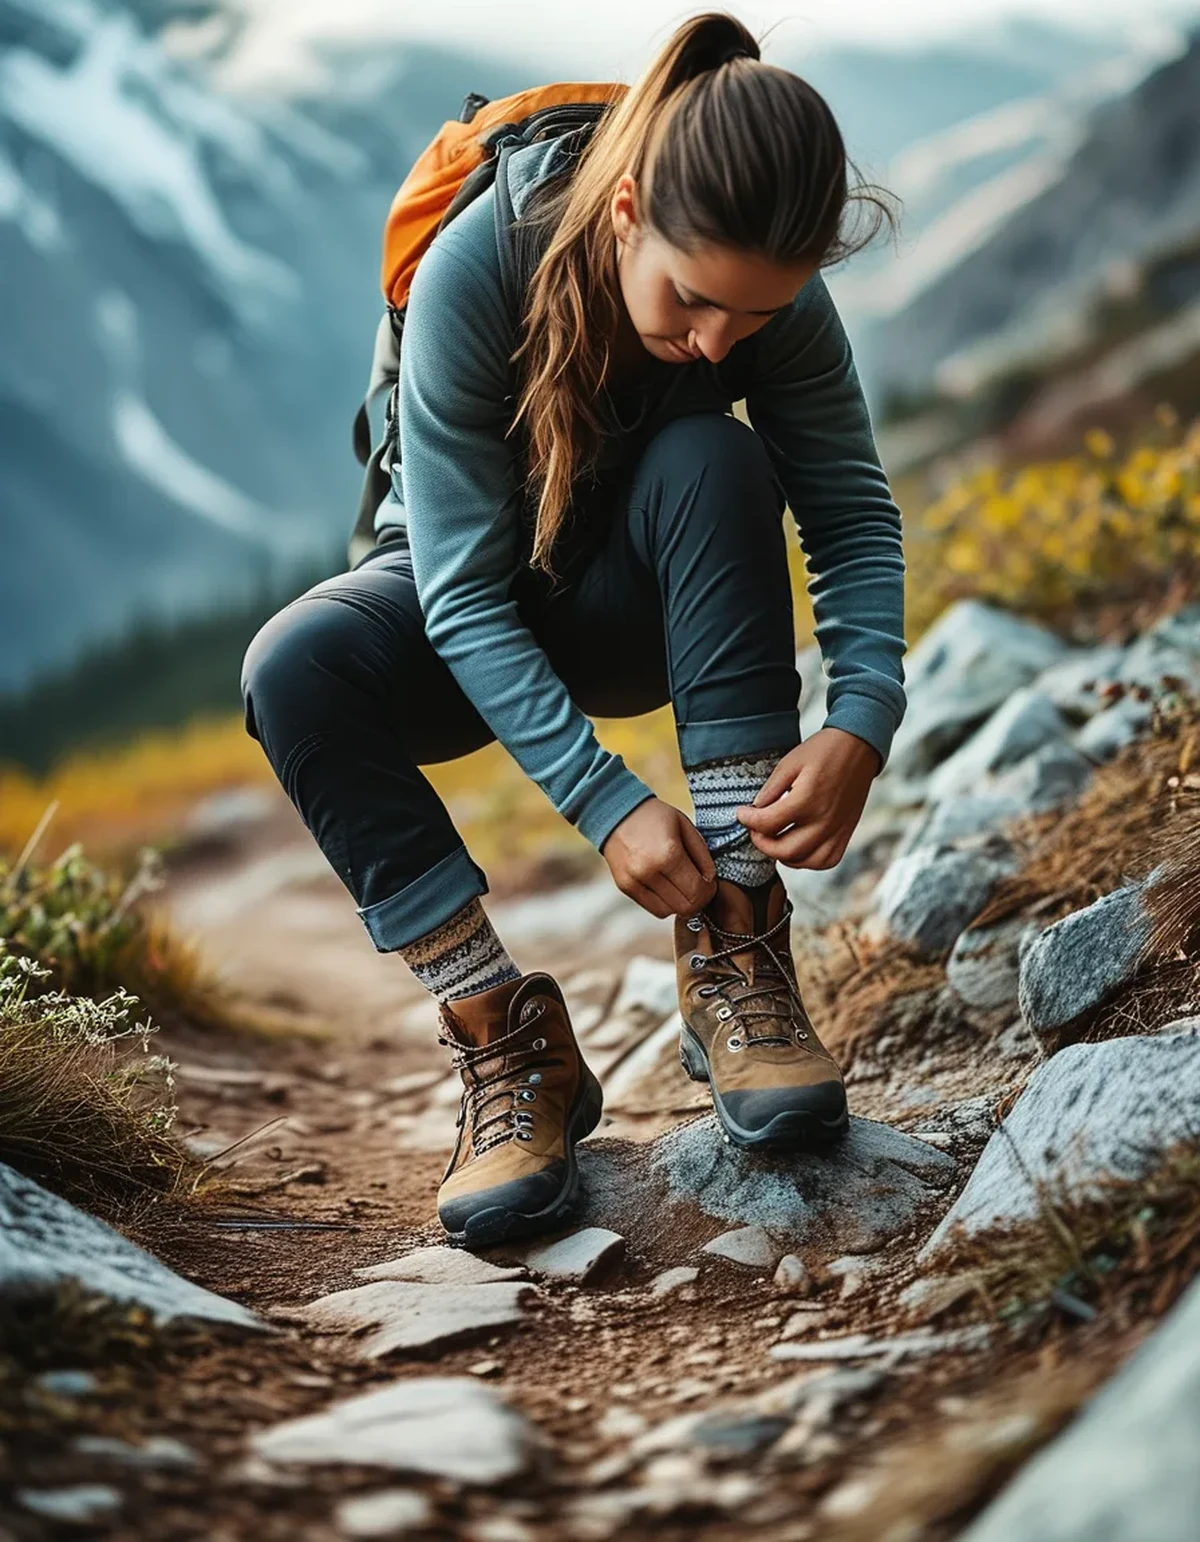
Carrying a spare pair of socks and changing them at a lunch break on longer hikes resets moisture buildup for the second half of the day. Applying a friction-reducing balm or powder to known hot-spot areas (heels, between toes) before symptoms start is more effective than waiting for the hot-spot burning sensation to appear.
The moment you feel a hot spot developing — a specific warm, slightly irritated feeling before pain sets in — stop immediately and address it with tape or moleskin. Pushing through a hot spot for ‘just a few more miles’ is the single most common reason a manageable hot spot becomes a full blister.
What Nobody Tells You About Terrain and Blister Risk
Steep, technical downhill terrain causes significantly more blister risk than flat trail because of the repeated forward sliding force inside the boot with every step. Lacing technique matters here specifically — a ‘heel lock’ lacing pattern (crossing laces through the top hook eyelets before tying off) reduces this forward slide substantially on descents, and is worth learning specifically for steep trail sections.
5 Mistakes People Make on Their First Multi-Day Hike
1. Wearing brand-new boots without any break-in miles beforehand. 2. Choosing cotton socks because they’re comfortable at home, not realizing how differently they perform under sweat. 3. Ignoring a hot spot because stopping feels like it’ll slow the group down. 4. Not packing a small blister kit (tape, moleskin, blister-specific bandages) on the assumption it won’t be needed. 5. Lacing boots the same way for uphill and downhill sections instead of adjusting for the different forces involved.
FAQ: Hiking Blister Prevention, Answered
What’s the single most effective change for chronic blister sufferers?
Switching to a double-layer sock system (thin liner plus cushioned outer sock) resolves chronic blistering for many hikers who’ve already tried boot and lacing adjustments without success.
Should I pop a blister that already formed on the trail?
Small, intact blisters are generally best left unpopped and protected with padding; larger, painful blisters may need careful draining with a sterilized needle, but this carries infection risk and should be done cautiously, ideally with clean supplies and a proper bandage after.
How long does true boot break-in actually take?
Most boots need 15-25 miles of varied-terrain walking to fully conform to your foot shape, though stiffer, more supportive boots can take longer than flexible trail runners.
TL;DR:
- Blisters form from friction and moisture compounding together, not either alone
- Merino wool or wicking synthetic socks outperform cotton significantly
- Break in new boots with 15-25 miles before a long hike
- Address hot spots the moment you feel them — don’t push through
- Adjust lacing for downhill terrain to reduce forward foot slide
Blister prevention isn’t one trick — it’s a system of sock, fit, break-in, and mid-hike attention that works together across every mile of trail.
Keep Reading
This article is for general informational and styling purposes only. Fit, sizing, and product availability may vary — check current details before purchasing.